
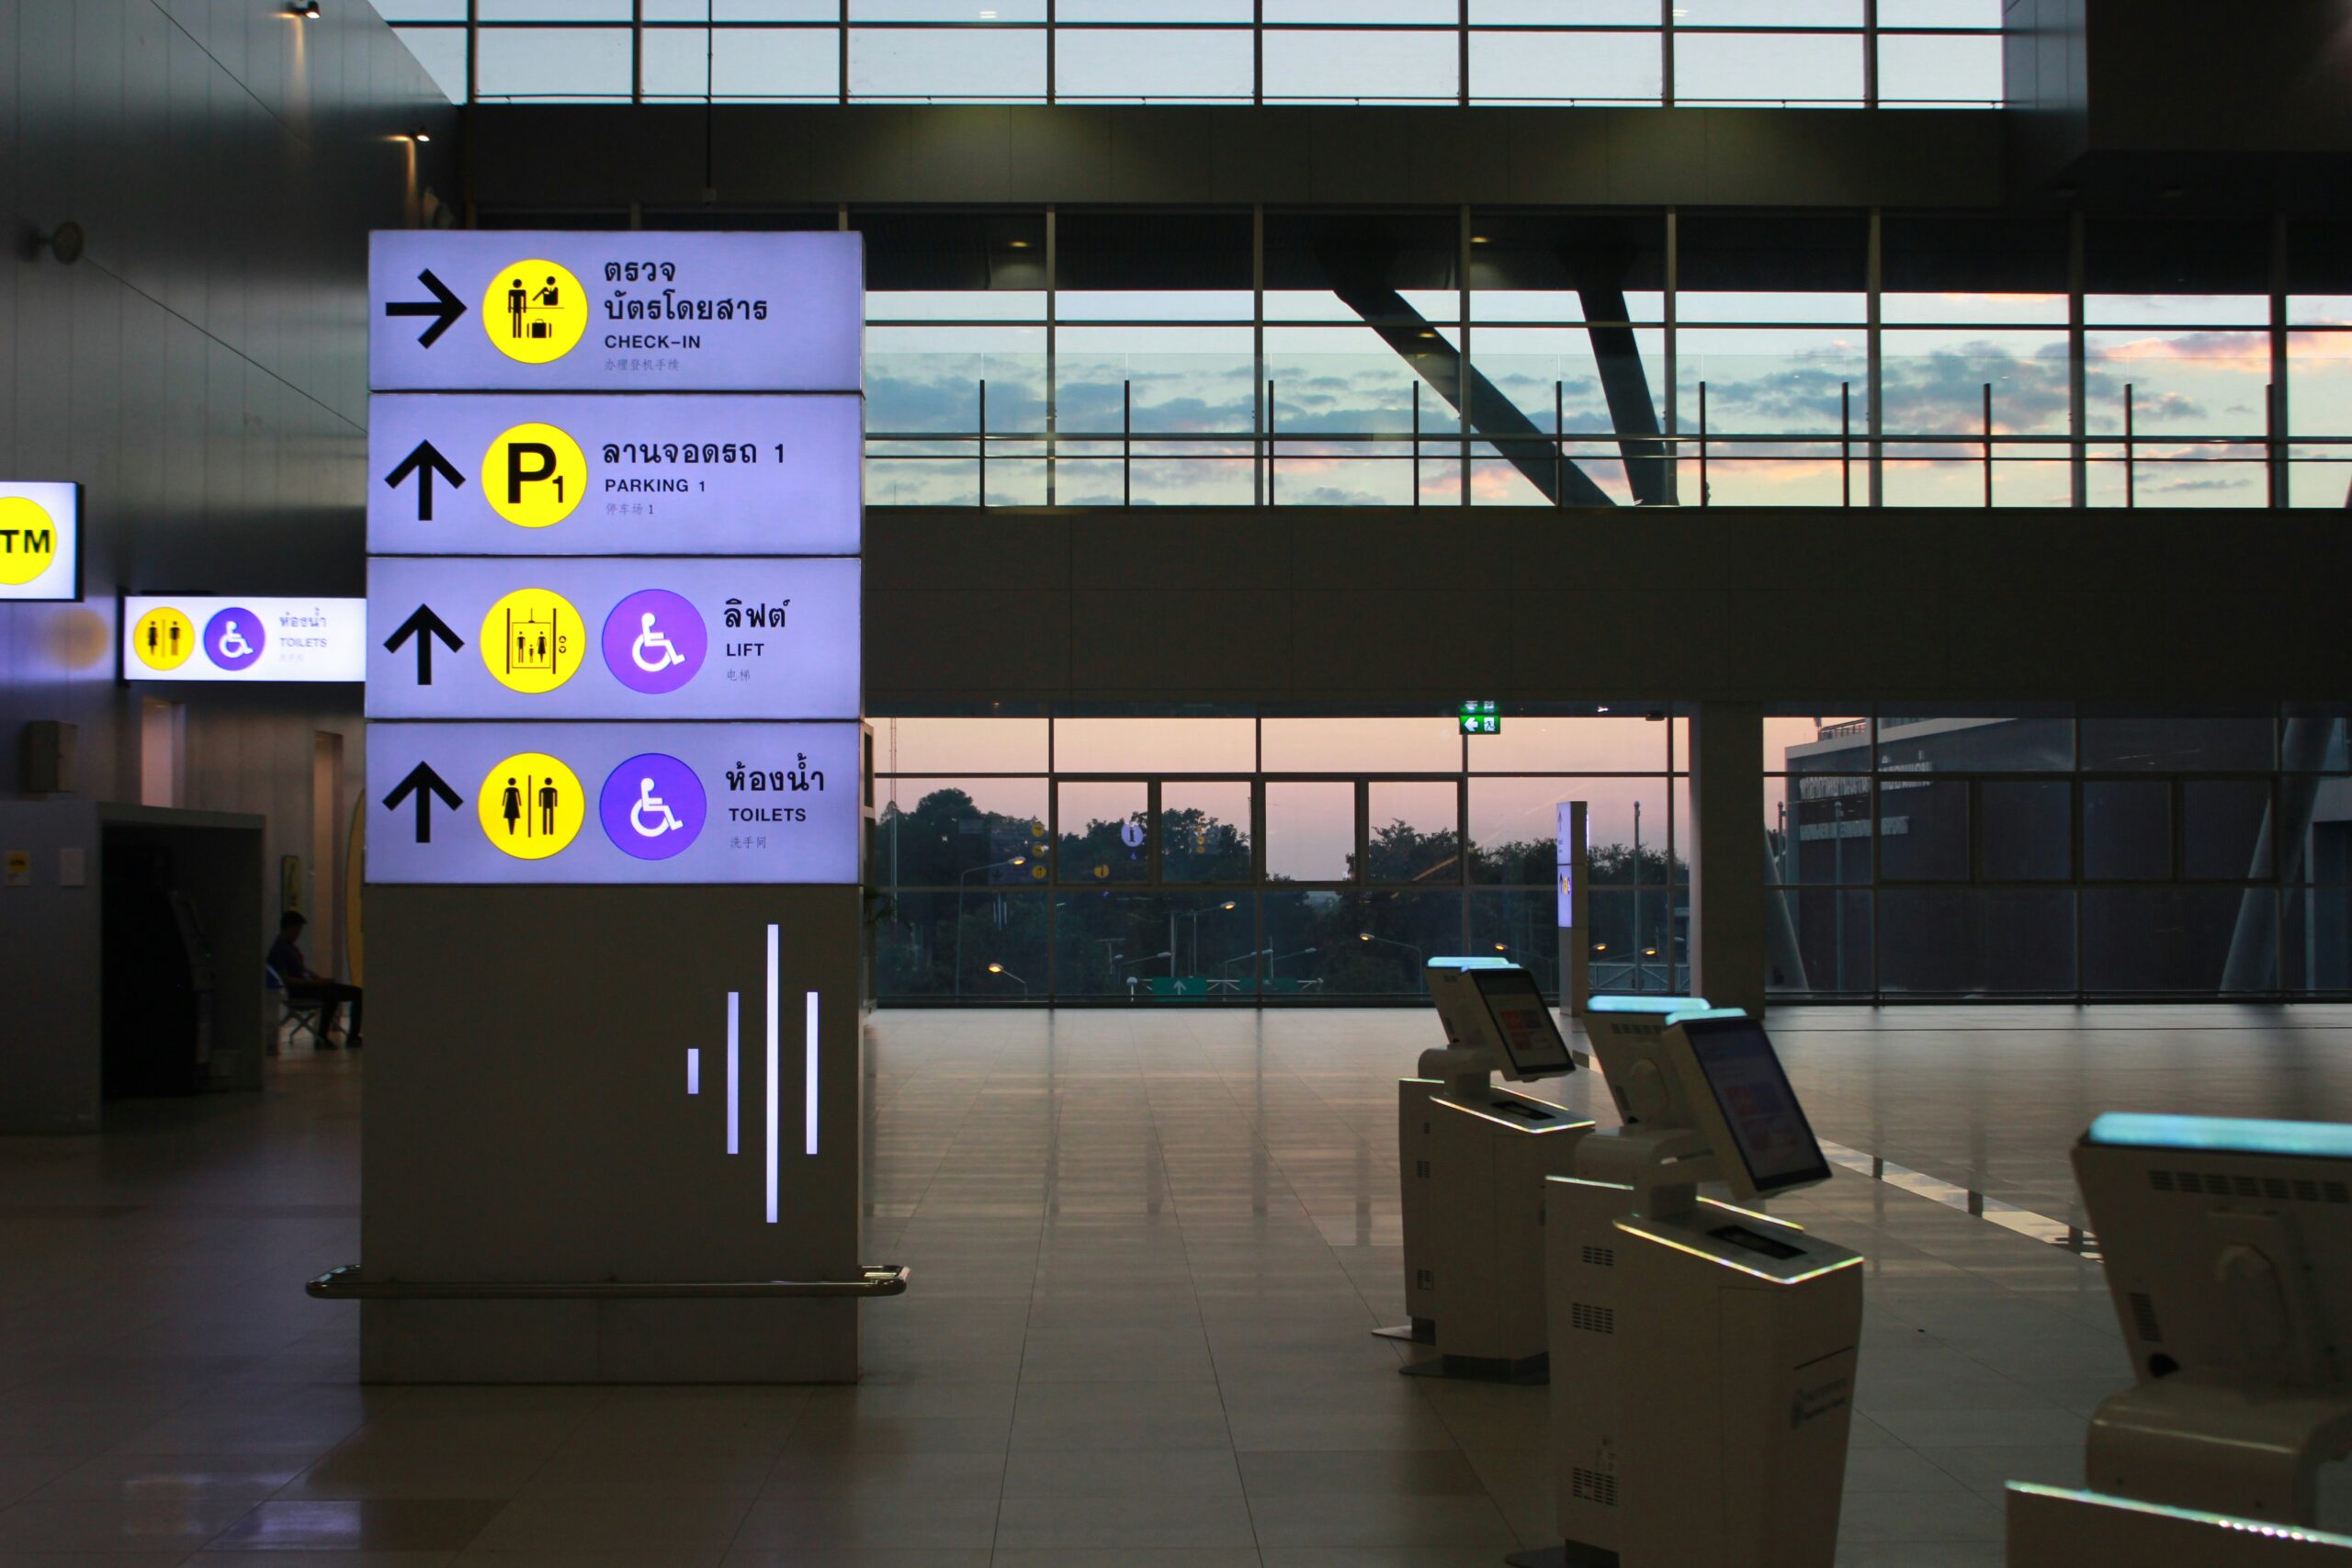
Wayfinding is not simply installing arrow signage here and there. Wayfinding involves complying with regulations, making things convenient for everyone, and not running into problems due to an individual’s inability to locate the accessible bathroom facilities. I have even known companies that invest around $80,000 in their office building but then suddenly panic due to sign regulations.
You need a solid plan. Map out confusing spots in your building first. Then pick between digital wayfinding displays and general wayfinding signs based on how often your layout changes. Work with your builder early so you’re not ripping things down later. Professional installation? Budget 2-4 weeks depending on your building size. Rush it and you’ll pay twice.
I’m breaking down the compliance mistakes I keep seeing, the actual measurements that work (not the ones people guess at), and why copying that hotel you stayed at is probably a terrible idea for your office.
Table of Contents
ToggleKey Points
- Place Braille signs 1200–1600mm high on the door’s handle side to meet DDA laws.
- Map your building first. Mark every spot where a stranger might get lost.
- Use tough materials for busy hallways and save the delicate stuff for quiet offices.
- Setup takes a few days, but the full design-to-build process takes about 4–6 weeks.
Why Do Most Wayfinding Projects Fail Before Installation Even Starts?
Nobody creates a plan. They guess. They wing it. They ask their designer (who’s never studied how people navigate buildings) to “make it look nice.”
Here’s what you actually need: Walk through every spot in your building where someone might stop and think “Wait, where do I go?” Elevators. Stairs. Hallway corners. Meeting room areas.
Last year I worked with a Melbourne office: three floors and about 150 staff. Beautiful custom signs. Wrong heights. Wrong spots on doors. Every single Braille sign had to be moved because they didn’t know the rules.
Cost them an extra $4,500 and two weeks of delays.
The Must-Do Checklist Before You Order Any Signs
Before making any decision, it is very important to make a checklist. Here’s yours:
- Check compliance rules: Are you following DDA standards? In Australia, this isn’t optional.
- Map how people move: Watch how visitors and staff actually walk through your space (not how you think they walk).
- Decide what’s important: What signs are the main ones vs. the supporting ones?
- Pick materials by location: Busy hallways need tougher materials than quiet offices.
- Digital screens vs. regular signs: Where do changing displays actually help?
And here’s something most people won’t tell you: you probably don’t need digital wayfinding at all. You just want it because it looks modern. If your office layout changes less than once every few months, you’re wasting money on screens. That $8,500 could’ve bought you really nice permanent signs instead.
Where Exactly Should You Put Wayfinding Signs?
Let’s talk numbers.
Regular directional signs usually go at 2000-2200mm from the floor. Eye level for standing adults. Pretty straightforward.
Braille signs? Totally different game. AS 1428.1 says braille must be mounted between 1200mm and 1600mm from the floor, measured to the bottom of the braille letters. Not the top. The bottom.
I can’t tell you how many times I’ve seen this done wrong.
The Door Handle Side Rule
Braille signs on doors must go on the handle side. Not the hinge side. Not in the middle of the door.
Why? Someone with vision problems will naturally reach for the handle side when they approach a closed door. It’s in the standard (AS 1428.1-2009), but entire office buildings still mess this up.
The sign needs to be:
- At least 50mm from the door frame
- With the middle of the braille at about 1350mm high
- On a wall or solid surface (not on the door itself if it’s a fire door)
Get this wrong and you’re not just annoying; you’re non-compliant. That means potential legal issues down the track.
How Do You Install Wall Signs Without Bubbles?
Three things cause bubbles: dust, moisture, and rushing.
Don’t rush this. Just don’t.
The Right Way to Do It
- Clean the wall with rubbing alcohol, not just a wet cloth.
- Check your wall surface. Bumpy walls need different sticky backing.
- Use the wet method for big signs: mix a few drops of dish soap with water in a spray bottle and spray the wall lightly before you apply.
- Smooth from middle outward with overlapping strokes.
- Let it set for 24-48 hours before touching it again.
For plastic or metal panel signs, you’ll use screws or VHB tape (Very High Bond – 3M makes the best kind). VHB works brilliantly on smooth walls but needs 24 hours of pressure to stick properly.
I don’t recommend VHB for anything you might need to remove in the next 5 years. It sticks forever. Like, actually forever.
What About Signs Hanging from Ceilings?
You need three things: enough clearance, good sight lines, and someone who knows how to properly attach things to ceilings without them falling on people’s heads.
Minimum clearance from the floor? 2100mm. That stops tall people from hitting their heads. Most hanging signs sit at 2400-2800mm so they’re visible over people’s heads in crowded spaces.
How to install them:
- Check your ceiling type: Drop ceiling vs. concrete vs. steel.
- Use the right anchors: Toggle bolts for drop ceilings, expansion anchors for concrete.
- Cables or rods: Stainless steel cable (1.5-2mm) works for lightweight signs; solid rods for heavier ones.
- Make it level: A crooked ceiling sign screams amateur.
For digital wayfinding screens hanging from ceilings, you’re adding weight and need power. That’s an electrician’s job, not just a sign installer. Don’t cheap out here.
How Long Does Professional Wayfinding Installation Take?
For a normal office (let’s say 500-1000 square meters), expect:
- Planning and design: 1-2 weeks
- Making the signs: 2-3 weeks (longer for custom stuff)
- Installation: 3-5 days for regular signs; add 2-4 days for digital screens
But here’s what actually delays projects: working around other trades. Your sign installer can’t put up hallway signs while painters are still painting. They can’t install braille signs before doors are in.
Work backward from when you need to move in. Not forward from “When can you start?”
People Also Ask
1. What is DDA compliant signage in Australia?
It’s signage that follows the Disability Discrimination Act. Means you need braille, proper contrast, and everything positioned according to AS 1428.1 so vision-impaired people can actually use it.
2. What signs do I need for a new office fit-out?
You legally need exit signs and tactile/braille signs for toilets. You should have a main directory at reception and meeting room IDs.
3. What’s the best material for high-traffic wayfinding signage?
Aluminum panels or acrylic with UV printing last the longest. Paper or basic vinyl in high-traffic areas? That’ll look terrible in six months.
4. Do I need a wayfinding expert or can I do this myself?
Anything requiring DDA compliance needs a professional. Getting it wrong exposes you to legal problems and you’ll pay to redo it anyway. Hire someone who knows AS 1428.1 inside out.
5. How much does wayfinding signage cost in Australia?
This will be determined by your requirements. Generally speaking, prices may be determined by the choice of material to use and the number of signs required, as well as whether to opt for conventional or digital signage.
Final Words
Stop reading and go walk your space right now.
Stand at your entrance. Every time you pause and think, “Which way?” mark that spot. Take photos. Count them. That’s your wayfinding map. Those are the spots that need signs.
If you’re in Melbourne and need someone who actually understands AS 1428, find a sign company that lists compliance certifications on their website. Not just pretty portfolio photos. Ask them specifically: “How many AS 1428.1 compliant projects have you done in the last 12 months?”
Because pretty signs that don’t meet the rules? They’re not just expensive mistakes. They’re legal problems sitting there waiting to bite you when someone files a complaint. And they will.